How To Start A Blog? - A Complete Beginner Friendly Guidelines
Nowadays starting a blog is like creating a social media profiles. There are tons of software a.k.a blogging platforms on which you can create your first blog just by clicking on few mouse buttons. You don’t require any coding knowledge, just like you can install some software on your computer, you can install your own blog on own server. But let’s first see,
Why people do blogs?
1. For Money
Yes people are tired to do their 9 to 5 Jobs, and we all know big companies like Google, Facebook and YouTube makes billion dollars on the internet just by displaying ads on their site. Same thing you can do with your blogs. You can make few hundred to thousand of dollar just by doing blogging, but it requires patient, quality content and absolutely royal visitors.
2. For Business.
Nowadays almost all business create their own blog to attract more customers. For example, let’s say you’re owner of some company who makes financial investment for their clients. So they write content about how to make a proper investment in XYZ and attract many people to their service.
3. For Hobby/Passion
There are also many hobby bloggers as well, for example, game lovers, travellers, computer geek, food lovers, movie lovers, smartphone lovers and so on. They also make money from it. Actually, they make money fast, because they are really passionate about it.
OK now let’s come to the main point, how to start a blog with seven simple steps.
Step 1: Choose Blogging Platforms.##
Blogger.com, tumblr.com and wordpress.com are free blogging platforms, on which you can easily do blogging. But they did not provide many functionality, flexibility and control over your blog. But if you’ve no budget then surely you can start with these free blogging platforms as well. If you choose the above free blogging platforms, then this remaining post is not useful for you.
Why did I recommend Wordpress.org?
Wordpress.org is my first choice if you want to run a blog like professional bloggers. Almost all 99% professional blogger run their site on Wordpress.org. Wordpress covers 25% stats on the internet, it means out of 100 sites, 25 sites are run by wordpress.org software, which is incredible stats, and it proved that most of the professional blogs use wordpress.org.
But if you don;t have investment then you can go with either Blogger, Tumblr or Wordpress.com, but I bet you’ll not going to use them for a long time, because they provide limited functionality, flexibility and control. You won’t understand that things right now, but when you choose that platforms and you want to add some widget/plugins on your blog, then you will see it is not available on Blogger or Tumblr. Another problem is if you’ve added some content to your blog and accidentally you violate their terms and service, then they will delete your whole blog automatically. It is same like you’ve built your entire empire on someone else land. So that is why most of all bloggers choose WordPress over anything because you own everything from content to server. Those who choose a free host will soon migrate to self-hosted WordPress blog, once their blog is getting some attention from people. So why not jump directly right now, because it can save your lot’s of time. I bet once you choose wordpress.org you will hardly switch to other platforms.
Wordpress.com Vs Wordpress.org
Here you should note that wordpress.com and wordpress.org are two different things, in Wordpress.com you can create your blog quickly with their subdomain like example.wordpress.com and to remove .wordpress.com you need to pay some extra money for that. Also, they display advertising on your site, without your permission, and to remove that you need to pay some extra money. Also if you want to add new themes and widgets on your blog, then again you need to pay some extra bucks, which means wordpress.com is not a really free blogging platforms. Now if we talk about wordpress.org, then it is open source software, which you can download it for free and install yourself on your own server, which means you have total control over your blog, no one can display their ads or delete your blog automatically.
Step 2: Choose your blog niche.
Blog niche means in what topics you want to start a blog, for example, tech blogs, fashion blogs, travel blogs, education blogs, etc. As a beginner I suggest, choose a niche in which you’re really passionate about it. I already wrote one article on how to choose blog niche? Check it out if you’ve any confusion about blog niche selection.
Step 3: Choose a domain name and host.
Domain name is your identity on the internet, for example, goyllo.com is my domain name. And the host is where your all blog post and content saved online. A host is nothing but an online computer which runs 24 hours, so it’s required Electricity Power, Powerful CPU, and Fast Internet Connection. It is same like you rent some computer which never shut down, so for that kind of host/server you need to pay some amount of money to host provider because they run your blog 24 hours online.
There are lot’s of host out there, and they all charges differently. The more cheapest host you choose, the worst service you’ll get. I personally suggest to, Go for DreamHost. If you’ve chosen Dreamhost, then you don’t require to register your new domain name from third party services like Godaddy and Namecheap, because they will register your domain name and map the DNS address automatically.
Follow below steps to signup for Dreamhost.
- Go to the DreamHost and click on get started now option.
- Enter your email address and strong password.
- Enter your domain name for example `goyllo.com` and select register option.
- Choose hosting plan based on your budget. I suggest 1-year plan (for good discount).
- In "Addition option" just select Install Wordpress option then continue.
- In the "Money Part" option enter your account details and payment information.
Step 4: Install WordPress on your server.
Almost all host provider gives you one click install facility. It is simple like you’re installing some software on your computer. When you select the 1 click installation facility, then your host provider do many things without user interaction. It will automatically download the latest version of WordPress from wordpress.org, install Apache server, install PHPMyAdmin, create MySQL database and Configure Wordpress with that database automatically. And that is why it’s called one click installation because it is done many things behind one click.
I suggest reading their official steps for one click install because they update it on a regular basis when they change something from their side. The main thing you want to remember in this step is your credential details like username, password and email. If you have chosen Dreamhost As I said, then you will get those details to your email address automatically once you finish the installation. And please save/remember that details, because we need it on step 5.
Step 5: Explore Wordpress Features.
Wordpress comes with many powerful features, and you can add any functionality you want, even you can add e-commerce type of functionality. Since it is open source software, lot’s of developers and programmer build powerful plugins to full fill your requirement
You can login to your WordPress site very easily just visit this URL yourdomain.com/wp-admin.php and enter your username and password that you have to get in your email address. After doing that you will see your WordPress dashboard.
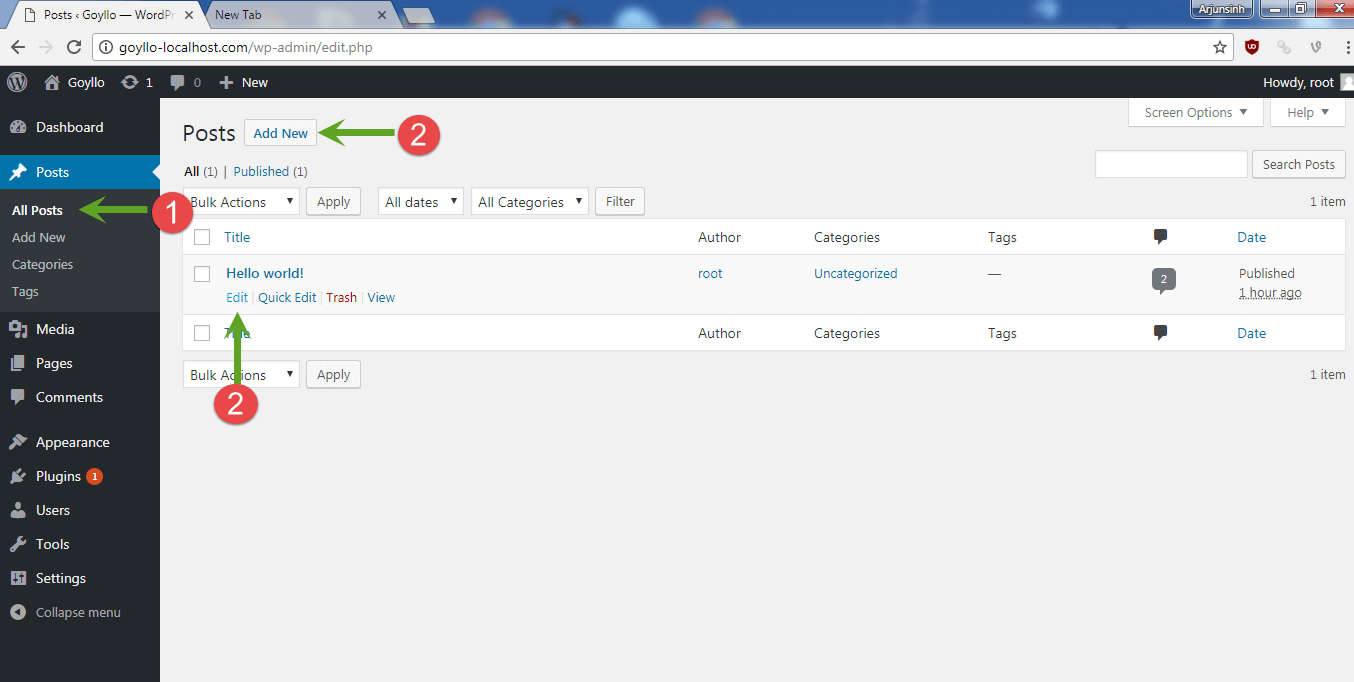
So let’s write your first blog post, to do that go to Post Menu > All Posts > Click on Edit option. Here we are going to Edit the dummy Hello World blog post, OR you can even create a new one, by clicking on Add New option.
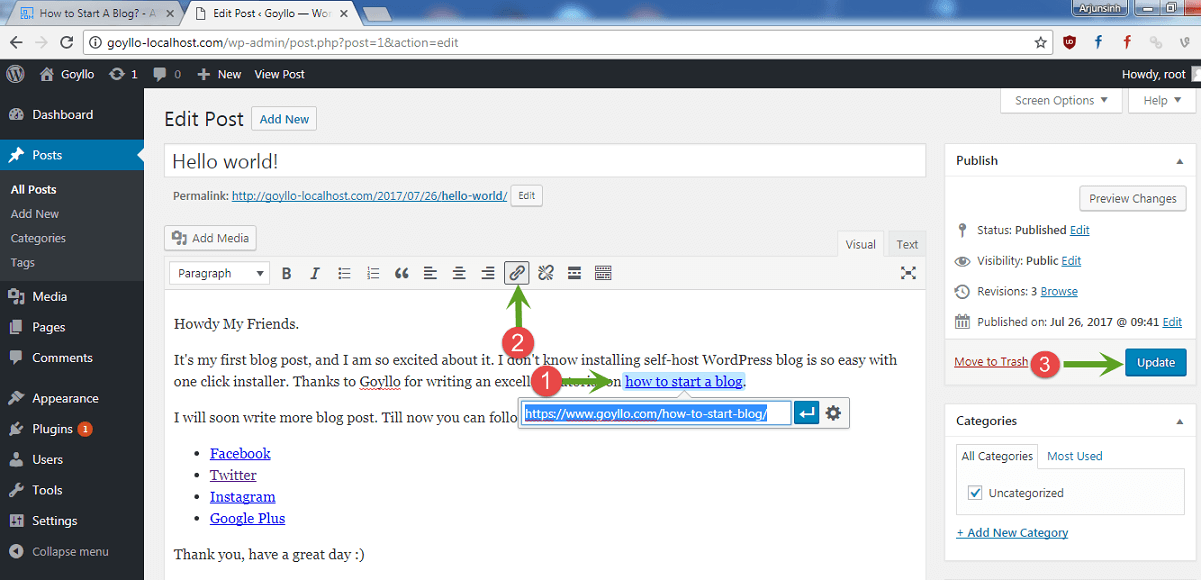
Here I write few basic things in my hello world blog post. But I suggest to write your own hello world blog post in your style, so after few years, when you see the same post, then you’ll feel so great. So don’t delete hello world blog post. Instead, make it great for future reference so that you can know, where did you start blogging. You can also add other website links in your blog post. To do that, click on any text, on which you want to add links, here I have selected how to start a blog text, then click on link option and add any URL address, that’s it. There are so many other options as well, which you can use it in your blog post, like a bullet list, heading, photos, youtube videos, etc. So just play with them. When you are done writing your blog post, you can hit the update/publish button.
Step 6: Install themes in your blog.
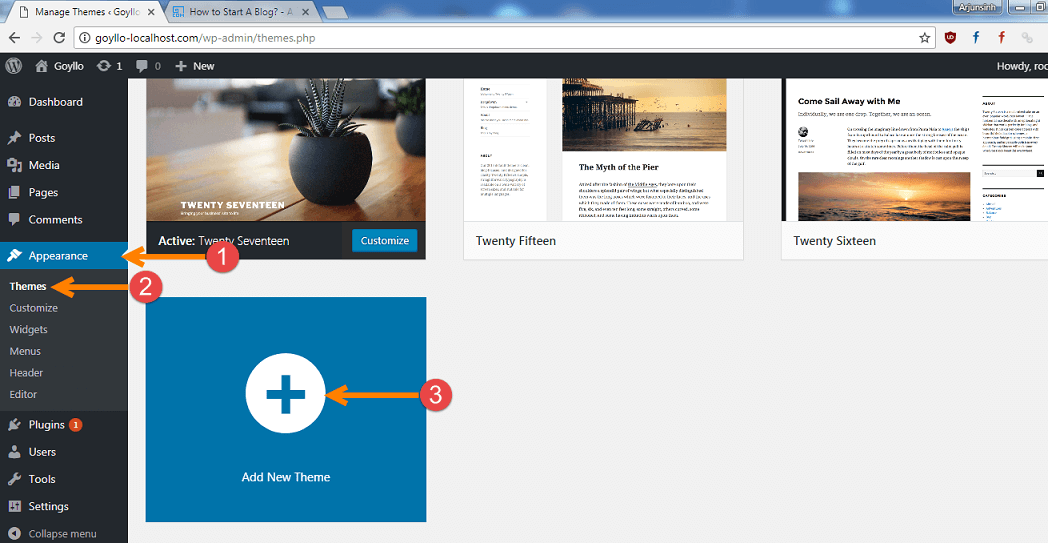
Installing WordPress themes is very easy, First Go to the Appearance menu, then select theme option. And then click on Add new theme option.
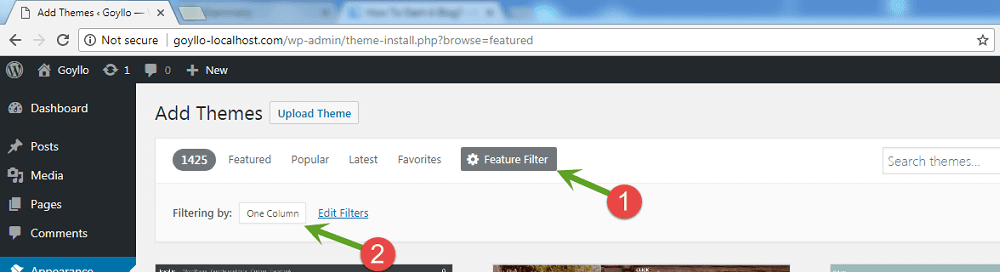
Now you’ll see lot’s of WordPress theme; you can even add filters based on your interest.
When you find any good theme, click on Details & Preview to check how it looks like and finally if you like the style of new theme, then click on install button.
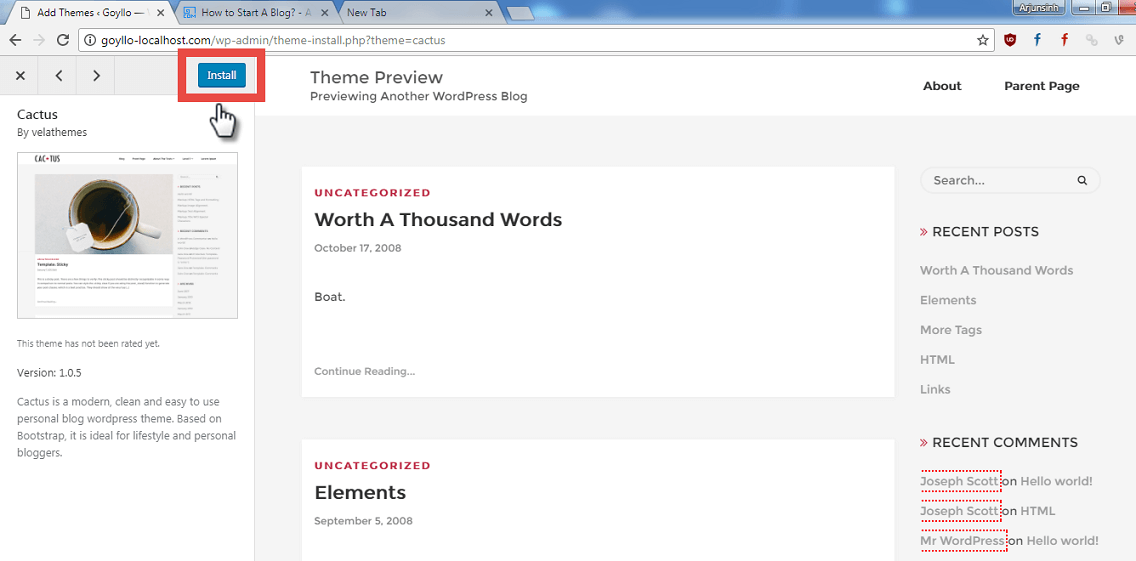
Once a theme is installed, you’ll see the activate option there, so just click on that, and your new theme (Cactus) will apply automatically.
Most of the themes are free there, and as a beginner, I will say stick with them. But if you have financial power, then you can get amazing premium theme as well. Remember designer also wants to get paid, so they put their major effort into a premium theme, but still, there is a large number of a designer, who provide free and amazing quality themes for your blog.
Step 7: Install plugin in your blog.
This is what I like about Wordpress. Plugins make life easy for everyone. Not all peoples know basic of web development like HTML, CSS and Javascript language, so it’s hard to add any code them self, and that’s why plugin comes here. So let’s search one plugin called recent post, which displays latest post in our blog sidebar.
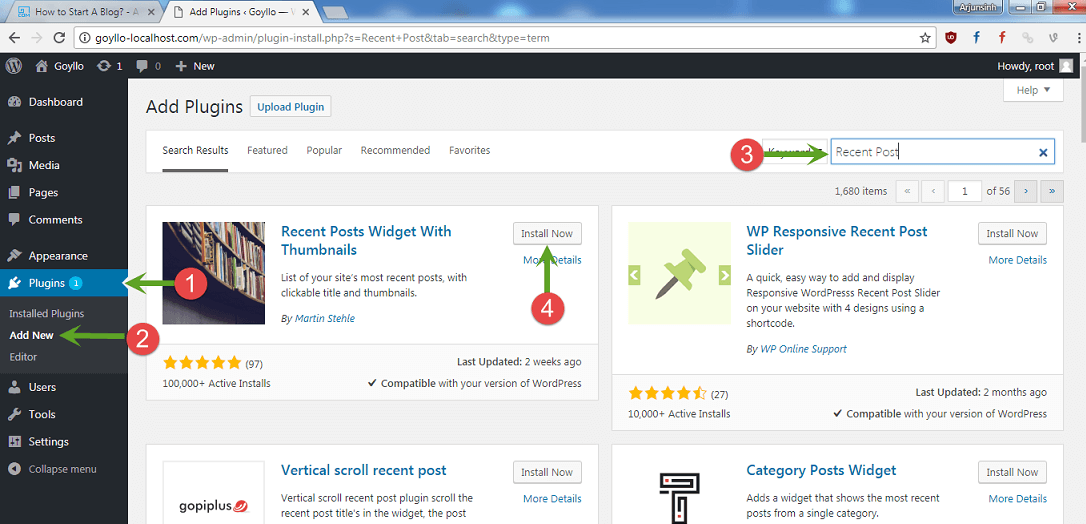
Click install now, then activate it. And now open your blog and you’ll see the recent post widget appears on the right side.

So for everything you’ll get plugins. But you should remember that the more plugins you add, the more resources it will take and slow down your blog. So add plugins that are really necessary for you.
Final Things.
In reality, all above steps just help you to start your first blog, but there are lots of things you need to do to make your blog to the next level. But first, write amazing content, second make your blog look like professional, third get visitors to your blog, and then finally think about monetization. Don’t think the reverse, because it is a sign of failure blogger.
