How to Add Google Analytics in Jekyll Website?
Hey guys, in this tutorial we are going to add Google Analytics in our Jekyll website. Well, there are so many plugins about that, but personally I will not recommend that, because it slows down generation speed. Getting stored variable from config file is also not a good idea, because it also takes some mini seconds while fetching. So, here I am going to give you the direct solution, which is fast compared to others, so just follow the simple two steps.
Steps 1: Get Google Analytics Code
First of get your Javascript codes from Google Analytics. If you don’t know how to get it, then refer this guide. It’s to easy for you, because you’re running Jekyll.
Step 2: Put Google Analytic code in Jekyll
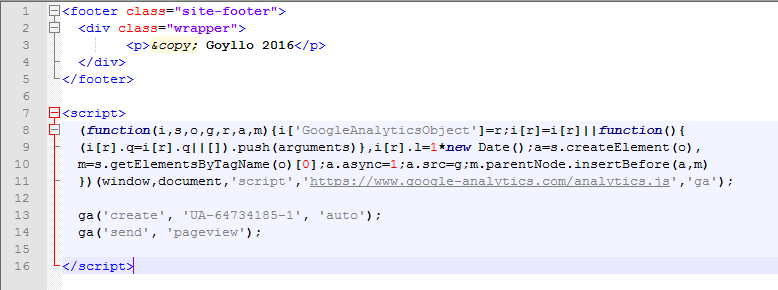
Now open your footer file from _include folder, and paste your analytics code just after the </footer> tag, and you have done. Refer below screen shot for better understanding.
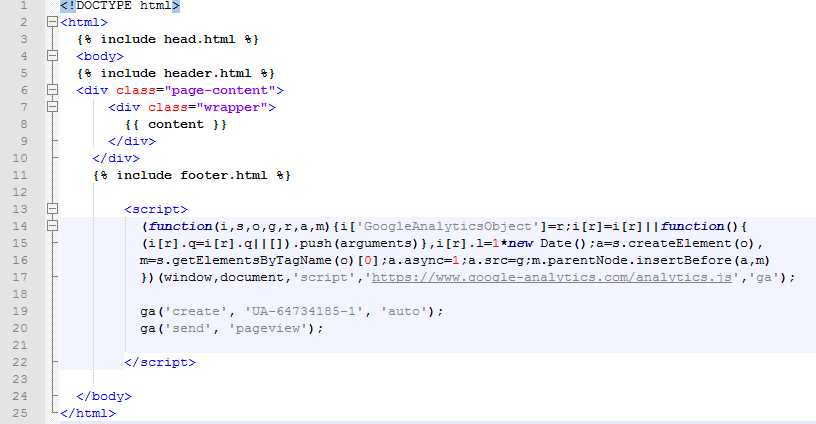
Well, If you didn’t find the footer file (If you find it, then follow above screenshot and you have successfully installed Google analytic code in your Jekyll website, otherwise continue from this), then open any of the file on which you can see</body> tag. May be you can find </body> tag in your default layout. So open that file, and put your Analytic code just before the </body> tag. Refer below screen shot for better understanding.
And you have done. Just make sure, you don’t paste it twice, for example, in the footer file, also in your default layout file, because placing code after </footer> tag will appear same as above </body> tag, got it? Or Feel free to check your source code (For chrome press CTRL+U). Thanks for the reading :)